L'INSPIRATION
INSPIRATION
Je me suis notamment inspiré de ce pantalon CCP, mais en descendant moins la fourche lors de mon patronage:
Some inspiration come from this CCP pant, but with a less low crotch on my pattern:
Photo à plat:
________________________________________________________________________________________________________________
LA PRISE DE MESURES
MEASUREMENT
Je suis parti des mesures de mon jean Uniqlo Skinny Fit Tapered, puis je les ai adaptées sur les photos du pantalon Dropcrotch à plat en me créant une échelle pour déduire la hauteur de la fourche.
Par contre, ne souhaitant pas un modèle à fourche trop basse, j'ai fait une moyenne entre la fourche du modèle de base (45cm), et celle d'origine de mon Uniqlo (25cm), pour partir sur une base de 35cm.I started from the measures of my Uniqlo Skinny Fit Tapered jeans, which I adapted on the flat dropcrotch pant picture by using a scale to deduct the length of the crotch.
Because I didn't want to have a crotch too low, I made an average between the one of the CCP model (45cm) and the one of my Uniqlo jeans (25cm) to choose 35cm.
J'ai aussi rallongé pas mal la longueur totale histoire de voir le rendu avec un gros stacking, quitte à le raccourcir par la suite si ça me plait pas.
Voilà ce que donnent les mesures que rapportées sur la photo du modèle que je vais "reproduire":
I also extended the total lenght in order to see the result with a lot a stacking, which can be easily hemmed at the end if I don't like the result.
Here are the measures that I will use:
________________________________________________________________________________________________________________
LE PATRONAGE
PATTERN
J'ai cette fois-ci tenté de créer le patron directement à partir de mon pantalon de base:
This time I tried to drew directly the pattern from my Uniqlo jeans:
En trait continu, le contour de l'arrière du jean Uniqlo, et un pointillé, la fourche descendue de 10cm:
In continuous line, the contour of the back part of my Uniqlo jeans and in dotted line, the crotched lowered of 10cm:
De la même manière, la longueur du pantalon revue à la hausse:
Likewise, the length extended:
Voilà ce que donne mon patron terminé:
Here is my finished pattern:
________________________________________________________________________________________________________________
LE COTON
COTTON
Matière classique et plus simple à travailler cette fois ci, un coton sergé noir en 120x150cm du Marché Saint Pierre de Paris.
Je voulais quelque chose un peu rigide, sans être trop épais, et ce coton me paraissait faire l'affaire.
Je voulais quelque chose un peu rigide, sans être trop épais, et ce coton me paraissait faire l'affaire.
This time, classic fabric and easier to sew, a black cotton twill of 120x150cm from the Marché Saint Pierre in Paris.
I wanted something rigid, without being to thick, and this fabric seemed to match.
Une nouvelle fois en comparaison avec une pièce de 5 centimes pour voir le tissage:
Once again in comparison with a 5 cents coin to see the weaving:
________________________________________________________________________________________________________________
LE SURFILAGE
EDGING
Toujours la même technique pour éviter que ça s'effiloche:
Always the same process to avoid the fabric to unravel:
________________________________________________________________________________________________________________
L'ASSEMBLAGE
ASSEMBLY
Voilà ce que donne l'assemblage global:
Here is the final assembly:
________________________________________________________________________________________________________________
LA BRAGUETTE
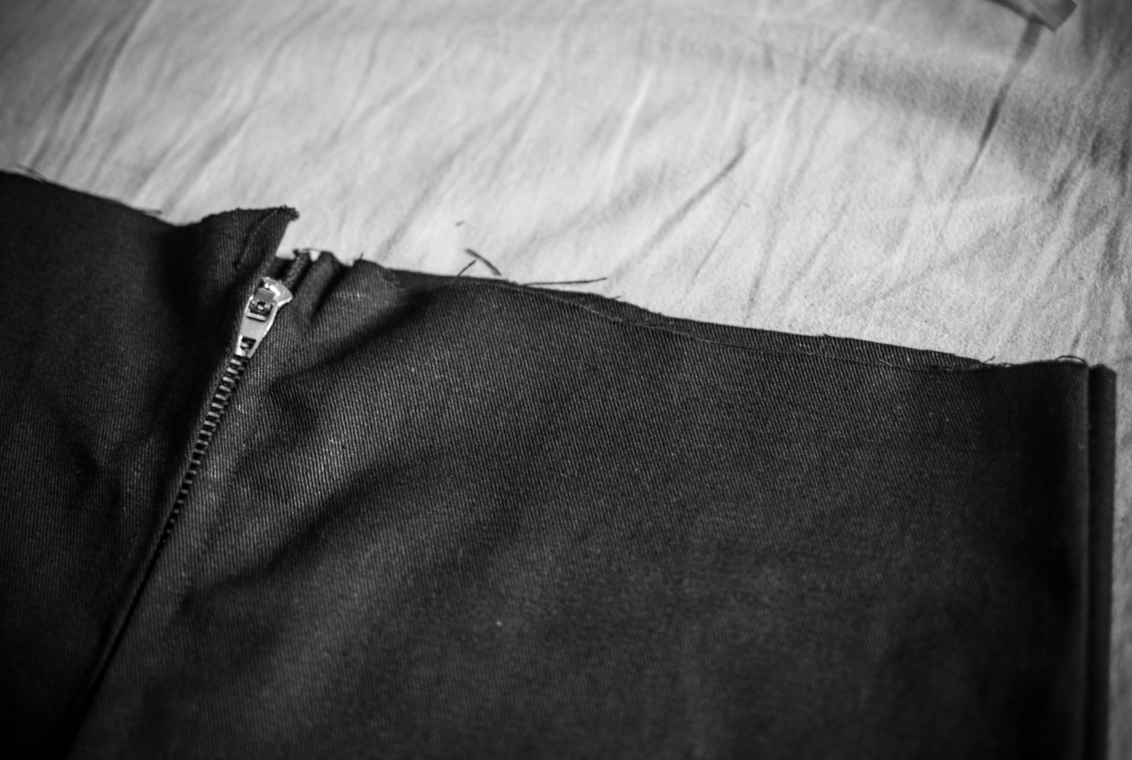
ZIPPED FLY
________________________________________________________________________________________________________________
LA CEINTURE
BELT
I used a 10cm fabric strip to make it, which I ironed before being sewed:
J'ai coupé les angles pour pouvoir faire proprement l'ourlet qui sera visible:
I cut angles to have a clean hem on the visible part of the belt:
Je l'ai ensuite cousue au reste du pantalon:
Then I sewed it to the rest of the pant:
________________________________________________________________________________________________________________
LA BOUTONNIERE
BUTTON HOLE
J'ai utilisé un pied spécial sur ma machine et réalisé une boutonnière, puis découpé le centre pour laisser passer le bouton noir que j'ai cousu:
I used a special presser foot to make the button hole, then cut the center to let the button I sewed go in.
________________________________________________________________________________________________________________
L'OURLET
HEM
Et enfin l'ourlet pour terminer:
Then the hem to finish:
________________________________________________________________________________________________________________


