L'INSPIRATION
INSPIRATION
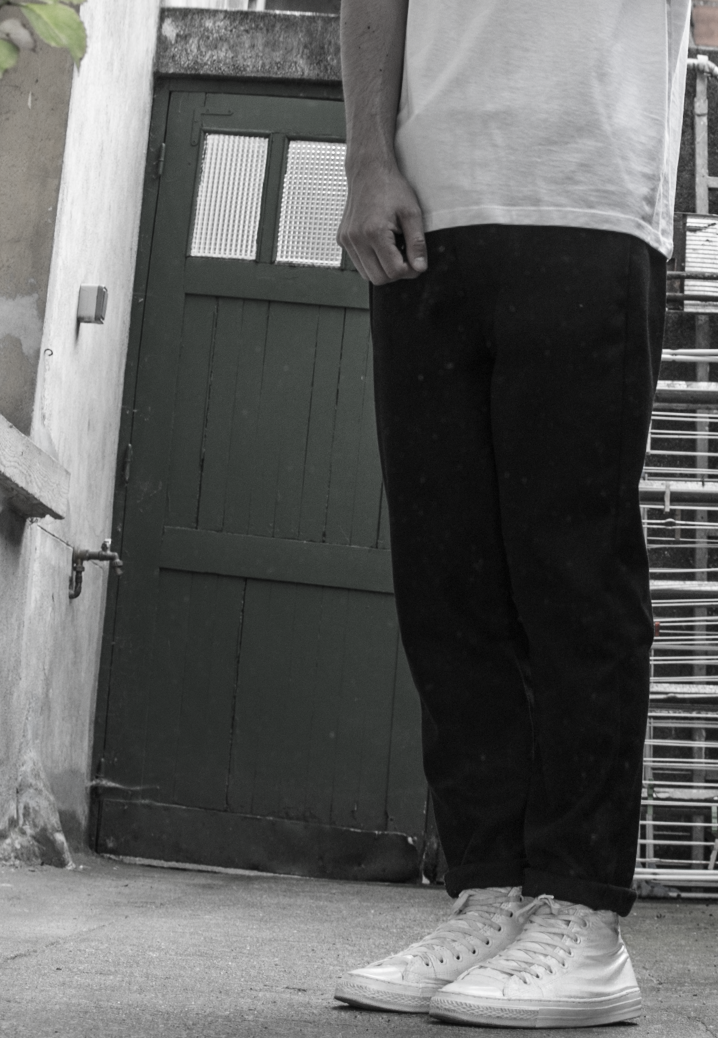
Pour les mesures, je me suis basé sur un pantalon que je possède déjà qui me fit bien, un peu large aux cuisses, légèrement resserré en bas, et assez court:
Concerning measures, I used one of my pant, a bit large at the tights, slightly narrowed at the hem and a bit short:

________________________________________________________________________________________________________________
________________________________________________________________________________________________________________
LA LAINE
WOOL
Petit passage chez Bennytex à Bobigny qui est pas mal recommandé sur internet pour la qualité et les prix de ses tissus. En effet, beaucoup de belles laines, à 8€ le mètre.Impressionnant quand on voit qu'on arrive souvent aux alentours de 30€ le mètre dans les autres magasins que j'ai pu faire...
Comme d'habitude, petit zoom sur la matière à côté d'une pièce:
I went to Bennytex at Bobigny (close to Paris) which has a nice reputation on the internet for the quality and prices of its fabrics.
I could find there a lot of wool ones at 8€ per meter.
I was surprised because usually it's more around 30€ per meter for this kind of fabric.
As usual, a zoom on the wool I will use next to a coin:
________________________________________________________________________________________________________________
________________________________________________________________________________________________________________
LE PATRONAGE
PATTERN
Cette fois ci encore, patron fait directement à partir de mon pantalon:
This time again, pattern made directly from my pant:
________________________________________________________________________________________________________________
________________________________________________________________________________________________________________
LA DECOUPE
CUTTING
A la craie de tailleur, tracé du contour de mes patrons, puis découpe.
Using a tailor chalk, I drew the contour of my patterns, then cut them:
________________________________________________________________________________________________________________
________________________________________________________________________________________________________________
L'ASSEMBLAGE
ASSEMBLY
Je commence par épingler les faces de tissus entre elles:
I started by pinning the faces of fabric:
J'assemble ça au point droit classique:
I assemble them with a classic straight stitch:
Voilà ce que donne l'assemblage brut (pas retourné sur cette photo comme vous pouvez le voir):
Here is the result of the basic assembly (still on the wrong side on this picture as you can see):
Ici un petit preview du bas du pantalon retourné (pas encore repassé):
A little preview of the right side of the pant (non-ironed):
________________________________________________________________________________________________________________
________________________________________________________________________________________________________________
LA BRAGUETTE
ZIPPED FLY
Tout d'abord, j'ai monté le pied pour fermeture éclair, qui permet de coudre au plus proche à l'inverse du pied classique qui est plus large:
First, I put in place the pressure foot used for zipped fly which allows to sew closer to the fly than the larger classic one:
J'ai épinglé ma fermeture sur le tissus après avoir marqué la forme au fer:
I pinned my fly on the fabric after having ironed the fold:
J'ai donc piqué sur le bord:
I then sew on the edge:
Voilà ce que ça donne, avec comme on peut le voir sur la gauche, le rabat qui viendra couvrir la fermeture:
Here is the result with as can be seen the flap on the left that will cover my zipped fly:
J'ai du marquer la forme classique d'une braguette.
Pour cela, j'ai fait un tracé à la craie de tailleur (sans l'arrondi que j'ai fait directement sur la machine):
I then drew a line with the tailor chalk to sew the classic shape of a zipped fly (without the curve which will be directly done on the sewing machine):
Voilà ce que donne l'arrondi en bas:
Here is the curve:
Vous pouvez apercevoir en rouge le bâti que j'ai réalisé à la main afin de tenir l'assemblage (un peu délicat à cet endroit là, moins que sur les côtés des jambes par exemple), que j'enlève par la suite:
You can see in red the baste I handmade in order to keep the elements together (more difficult here than on the exterior of the legs for exemple), which I remove after:
________________________________________________________________________________________________________________
________________________________________________________________________________________________________________
LA CEINTURE
BELT
J'ai cette fois trouvé un très bon tutoriel pour la ceinture, mais assez difficile à maitriser si on a pas une matière toute fine comme la personne dans la vidéo (notamment lorsqu'il repasse pour faire prendre les plis, ça fonctionne moins bien avec une laine plus épaisse).
J'ai commencé par assembler les 2 parties de la ceinture (partie extérieure et intérieure):
This time I found a very nice tutorial for the belt, but quite hard to master when you don't use a thin fabric as the guy in the video (for example when he iron folds, it works poorly with a thicker wool).
I started by assemble the 2 parts of my belt (exterior and interior):
J'ai assemblé la ceinture au pantalon (on voit en haut la partie qui se retrouvera à l'intérieur):
I assemble the belt and the pant (we can see above the part that will after be inside):
Résultat bien propre avec cette méthode:
Clean result with this process:
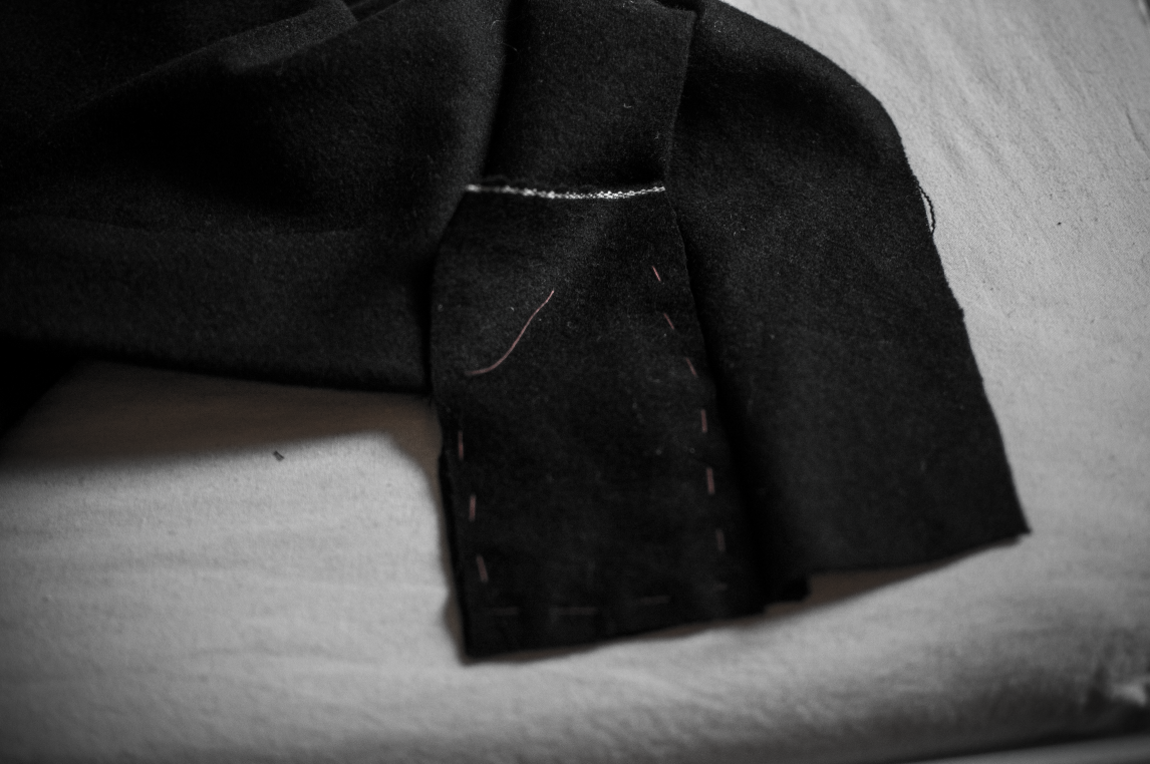
Partie un peu technique, assembler (en bâtissant à la main d'abord pour bien immobiliser) un rectangle de tissus au bout de la ceinture:
More precise part, assemble (with handmade basting before to keep fabrics together) a rectangle of fabric on the edge of the belt:
Voilà le résultat une fois retourné:
Here is the result once put on the right side:
________________________________________________________________________________________________________________
________________________________________________________________________________________________________________
L'OURLET
HEM
La finition, un ourlet classique:
To finish, a classic hem:
________________________________________________________________________________________________________________
________________________________________________________________________________________________________________
LE RESULTAT
RESULT


